
How to Make Right Back Work When You Throw Right-Handed
Receive while advancing, hold useful width, read the defender early and keep passes to the pivot, wing and centre back available.
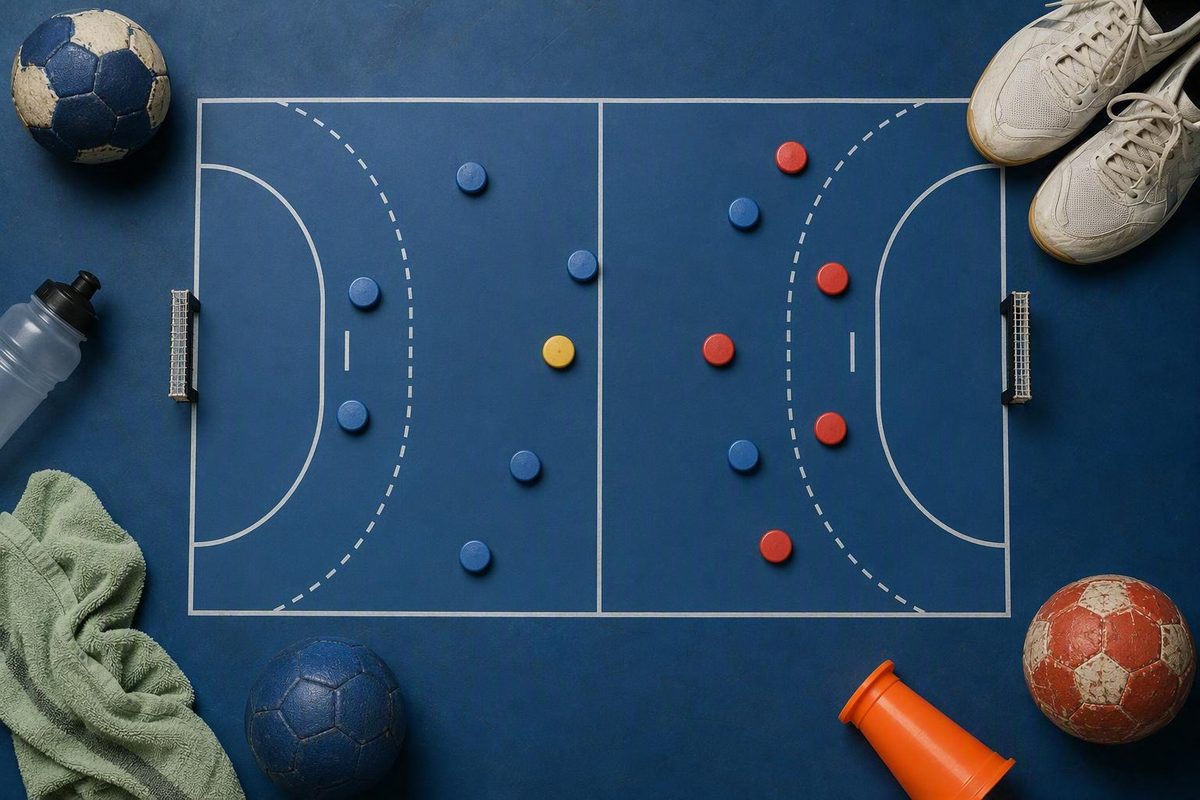
Prioritise receiving while advancing, preserving useful width, reading the defender early, and keeping the pivot, wing and recycling passes available. Your handedness changes the geometry of the position, but it does not disqualify you from playing it.
The short answer: adapt your decisions before rebuilding your throw
Left-handed players are commonly preferred at right back because their throwing arm is farther from the sideline, allowing a more open alignment toward goal. That is a tactical convention, not a rule. For a right-handed right back, the dominant arm sits nearer the sideline, so the direct shooting lane can be less favourable.
Do not respond by forcing a special shot on every possession. Start with four practical changes:
- Maintain useful width. Begin wide enough to stretch the outside defender while remaining connected to the centre back.
- Read before committing. Notice the defender’s depth, closing speed and body position before choosing a shot, drive or pass.
- Keep the next pass alive. The pivot, right wing and centre back should remain options until the defence removes them.
The IHF’s teaching guidance supports broad development in passing, catching, dribbling, shooting, spatial manipulation and faking rather than prescribing one technique for this handedness-position combination.
A right-handed player’s position-change question describes moving from left back to right back and asking which shots and feints to practise. That illustrates a practical coaching need, not proof that any proposed solution will work.
Know the full right-back job
A right back is not simply the player assigned to take difficult long-range shots. In attack, the role includes:
- threatening from outside when the defence remains deep;
- penetrating dynamically when a defender closes or a gap opens;
- circulating the ball without slowing the attack;
- collaborating with the pivot;
- releasing the right wing when the outside defender narrows;
- repositioning after a pass to create the next advantage.
A credible shot matters because defenders need a reason to step forward. Credibility does not mean shooting whenever you receive, however. If the defender expects a forced attempt from a poor lane, moving the ball may create the greater threat.
The right back also has defensive work. Depending on the team’s system, this can include applying legal pressure, contesting or blocking shots, protecting passing lanes, communicating switches and covering rotations. The precise assignment changes with the defensive formation and the movement around the ball.
Transition connects both sides of the role. When your team wins possession, join the attack without arriving in the right channel and becoming static. When possession is lost, recover immediately, identify the most urgent assignment, communicate and protect the relevant passing lane.
The foundational skills remain the same whether you are naturally suited to the position or filling a team need: passing, catching, dribbling, shooting, changing space and using believable fakes. Right back adds a particular set of reads, not an entirely separate technical sport.
Use a catch-read-act decision table
Use this table as a set of reading prompts, not rigid rules. The best choice still depends on defender movement, teammate positions and the goalkeeper.
| Defensive cue | First option | Fallback |
|---|---|---|
| The defender stays deep and a clear lane remains | Consider a balanced backcourt shot from approximately 9–10 metres (handball lesson-plan guidance) | Circulate if the lane closes; do not force the shot |
| The defender closes aggressively | Attack the space created by the closeout with a controlled 1v1 action | Pass if help defence commits |
| Central help steps toward you | Look for the pivot | Recycle through centre back if the pivot lane is covered |
| The outside defender narrows and the right wing has space | Pass ahead of the moving wing | Retain width and recycle if the passing lane closes |
| Neither the shot nor penetration creates an advantage | Move the ball quickly and reposition | Dribble only when it serves a clear tactical purpose |
The important habit is to catch, read and act as one connected sequence. Avoid deciding to shoot, drive or pass before the ball reaches you. A premature decision can make you miss the defensive movement that creates the best option.
For example, a deep defender may initially leave a backcourt shooting lane. If that defender advances during your catch, the useful option can change from shot to penetration. If central help then moves across, the pivot may become free. The action is not “receive and perform my move”; it is “receive and update the picture.”
Receive on the move and make the fake believable
Where space permits, begin the action roughly 12–15 metres from goal and move onto the pass rather than waiting flat-footed around the backcourt line. This gives you room to build speed, observe the defender and arrive in a threatening area with more than one option. Organise the action within the basic possession restrictions: no more than three steps while holding the ball and no more than three seconds in possession (lesson-plan rules and approach guidance).
A believable fake has two phases:
- Prompt a response. Show enough intent through your eyes, speed, body line or ball position to make the defender react.
- Escape quickly. Once the defender shifts, accelerate into the space created by that movement.
The objective is not to perform the biggest possible feint. It is to move the defender enough to escape past a shoulder, expose a shooting lane or deliver the next pass. Accelerate away from the defender rather than driving directly into the defender’s chest.
Practise both inside and outside exits. Cutting inside may improve the angle in some situations, but always doing so makes you predictable. An outside exit can be useful when the defender overprotects the middle, when the wing has moved to create space, or when you want to draw the outside defender before passing.
Use a dribble when it allows you to continue a purposeful penetration, improve a passing angle or control an otherwise lost ball. Do not add one automatically after every catch. Passing generally transfers the ball faster, while an unnecessary dribble gives the defence time to reorganise.
Individual approach angle, torso orientation, take-off choice and release mechanics are best refined through qualified coaching or video feedback. Film from behind the attacker and from near the centre of the court. Check whether the approach preserves a visible lane, whether the player remains balanced and whether the same preparation leaves both passing and shooting options available.
Four progressive right-channel drills
Build these exercises from unopposed movement to active decisions. Judge the quality of the read and execution rather than imposing unsupported throwing totals or assuming that the drills guarantee improvement.
For active blocking or contact, use a proper warm-up, introduce pressure progressively and work under qualified supervision. That approach is consistent with the site’s general guidance for coaching contact safely in club sessions (Handball Practice safety guidance).
Drill 1: Catch-read-finish
- Purpose: Connect a moving catch to an immediate shooting, penetration or recycling decision.
- Minimum roles: One right back, one feeder and one coach or cue-giver. Add a goalkeeper when finishing at goal.
- Court area: The right channel, using the deeper starting area described above.
- Decision cue: The coach signals “shot,” “drive” or “recycle” as the pass travels. Alternatively, the feeder changes position to represent the available option.
- Observable success measure: The player catches in motion, preserves a usable lane and acts without an unnecessary settling dribble.
- Progression: Add a passive defender who changes depth, requiring the player to read movement rather than follow a verbal command.
The cue should arrive early enough for the player to perceive it but late enough to prevent a fully pre-planned action. Once the player can adjust reliably, replace the signal with a defender’s movement.
Drill 2: Two-way 1v1
- Purpose: Develop a believable prompt and an explosive escape in either direction.
- Minimum roles: One attacker, one defender and one feeder.
- Court area: A right-side sector extending from the deeper receiving area toward the backcourt shooting line.
- Decision cue: The defender’s first weight shift, closing angle or change of body position.
- Observable success measure: The fake moves the defender, the attacker escapes past a shoulder and avoids running straight into contact.
- Progression: Begin with guided defensive movement, then allow the defender to choose which route to protect.
Alternate inside and outside exits. A successful repetition is not necessarily a goal. It can be the creation of a clean shooting lane or a clear advantage that would force help defence to commit.
Drill 3: Side-sector 2v1
- Purpose: Train penetration and drive-and-dish decisions under realistic pressure.
- Minimum roles: One right back, one defender and either a pivot or right wing.
- Court area: The right half-space and the adjacent pivot or wing channel.
- Decision cue: If the defender stays with the supporting player, penetrate. If the defender commits to the ball carrier, pass.
- Observable success measure: The ball carrier delays the final decision until the defender commits, then creates a clean finish or uncontested continuation.
- Progression: Rotate between pivot and wing support so the right back learns both central and outside reads.
Do not reward a predetermined pass. If the defender never leaves the supporting player, the right back should exploit the open route rather than pass merely because the exercise is labelled 2v1.
Drill 4: Attack-to-defence transition
- Purpose: Connect right-channel attack with immediate recovery and communication.
- Minimum roles: One right back, one feeder, one defender and one receiving attacker for the next phase. Add a goalkeeper where available.
- Court area: The right attacking channel plus enough central space for a short transition.
- Decision cue: The shot, turnover or completed attacking pass starts the defensive recovery.
- Observable success measure: The player turns immediately, communicates the assignment and reaches a position that protects a passing lane.
- Progression: Allow the next attacker to choose between carrying the ball, passing centrally or releasing an outside runner.
This final drill prevents position training from becoming a collection of isolated shots. The right back must complete the attacking decision and then respond to the change of possession without pausing.
Make passes that preserve the next player’s advantage
The general drive-and-dish principle is simple: attack available space, observe whether help defence commits, and deliver the ball to the teammate made available by that commitment. The exact combination will vary, so read the defence rather than deciding on the pass before receiving.
For the pivot: Attack with enough intent to draw central help. If that help steps toward you, deliver into the pivot’s available side. If the defender stays attached to the pivot, continue through the gap or move the ball elsewhere.
For the right wing: Preserve enough width to make the outside defender choose. When the defender narrows, pass ahead of the wing’s movement rather than directly at the receiver’s current position. The wing should not have to stop, reach behind or abandon the approach to collect the ball.
When recycling: Pass back to centre and move again. Reposition wide, cross if the team’s pattern calls for it, or prepare to receive on a new line.
Useful passing cues include keeping the elbow up, finishing with a wrist snap, using a chest-height delivery when appropriate, moving toward the ball when receiving and leading a moving teammate. Coaches can adapt the site’s small-squad passing formats so the decisive pass occurs in the right channel. The overload square is listed for 8–12 players, while flow to goal requires at least eight players and a goalkeeper.
With fewer players, preserve the decision rather than the complete drill shape. A right back, feeder, pivot or wing, and defender can still create a useful 2v1. If no defender is available, a coach can provide a late visual cue, although active opposition should eventually be introduced.
Treat the left hand as an optional long-term project
No, you do not have to learn to shoot left-handed before you can play right back. Ambidexterity may expand your options, but the available evidence does not establish it as a requirement.
As a practical training priority, first make your dominant-hand execution, moving catches, width, passing and defensive reading dependable. Those skills appear throughout the role, whereas a weak-hand jump shot is a separate long-term project.
If you and your coach decide to develop the left hand, begin simply:
- controlled standing throws;
- a foam ball or fixed wall target;
- short partner passing;
- a stable two- or three-step rhythm;
- gradual increases in speed after basic control becomes consistent;
- explosive actions and jump shots only later.
This sequence comes from user-generated coaching advice on weak-hand shooting, not an official IHF prescription. It provides a possible starting framework but does not show that the weaker hand will become as powerful or reliable as the dominant hand.
Keep weak-hand practice complementary. It should not replace the dominant-hand shooting, passing and decision training needed for your current role.
Build broadly and protect the throwing shoulder
Young players should continue practising multiple positions rather than specialising too narrowly. Continue developing passing, catching, dribbling, shooting, defensive movement and spatial awareness across the court.
Added right-back shooting also increases throwing demand. A systematic review covering eight prospective cohort studies found strong evidence associating weak shoulder external rotators with a greater probability of shoulder injury in handball players. The authors also stressed that shoulder injury is multifactorial, so the findings do not prove that one strengthening exercise prevents injury (peer-reviewed systematic review).
Use a proper warm-up, increase throwing speed and defensive pressure gradually, maintain balanced physical preparation and monitor total throwing demand across practices and matches. As a precaution, a player with shoulder pain—or one returning from injury—should seek appropriate professional assessment rather than use generic training advice as a return-to-play protocol.
For day-to-day right-back work, use this checklist:
- Arrive in motion.
- Hold enough width to stretch the defence.
- Read before acting.
- Threaten both directions.
- Pass when help commits.
- Move again after passing.
- Recover and communicate immediately after the attack.
Right-handedness at right back is a tactical constraint to train around, not a reason to abandon the position. Build dependable decisions first, then use qualified coaching or video feedback to refine the shooting mechanics that suit your body, team system and available space.