
Getting Back Into Handball: Start With Control, Then Add Pressure
A 60-minute return-to-handball session for 6–10 adult players in half a hall, with controlled throwing, no-contact games and progression checkpoints.
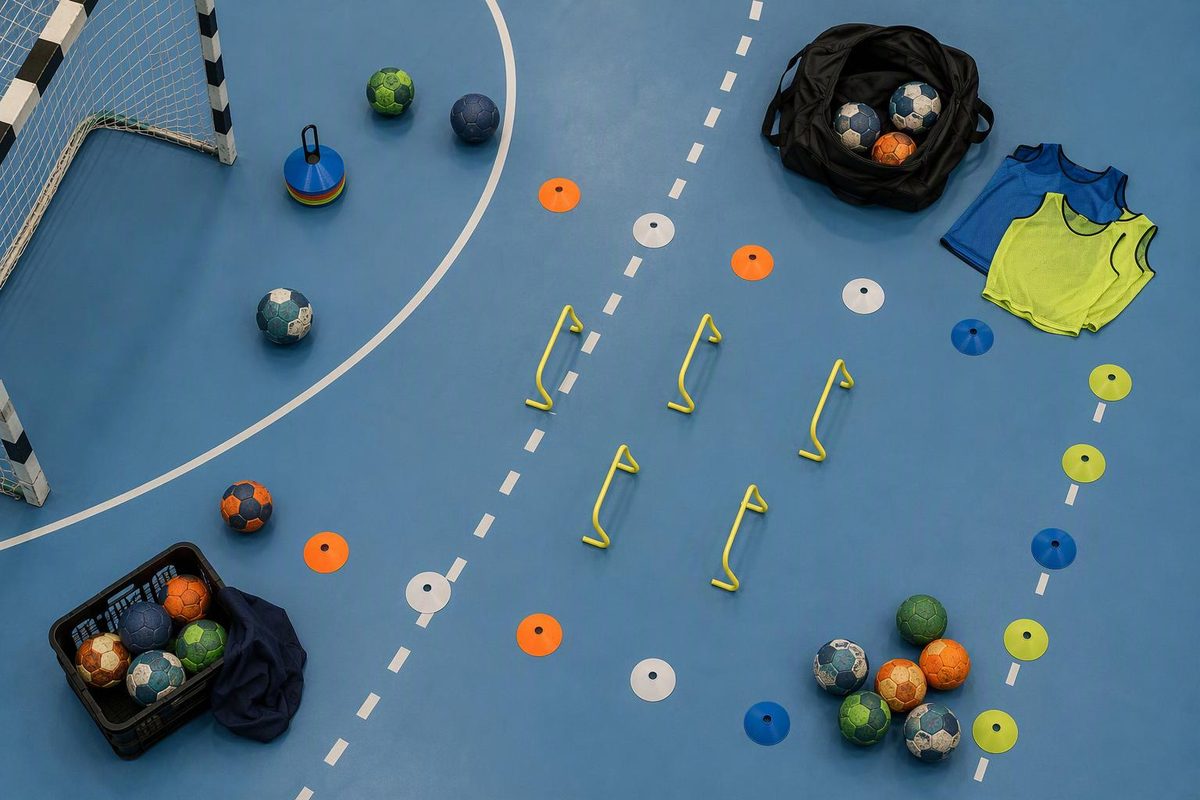
Getting back into handball does not have to mean joining every drill at full speed on the first night. Agree with your coach which parts you will do, where you can take a break and whether contact is included. For the coach, the first task is to see what the returning player can repeat comfortably—not whether they can still produce one hard shot.
This session is for adult recreational players returning after a break, with previous handball experience and no current injury restrictions. It is a coaching template, not an injury-rehabilitation programme. If an unresolved injury caused the break, get a diagnosis and an individual return plan first; HSS advises against rushing back or exercising through post-injury pain. HSS return-to-exercise guidance
Before the first session
Ask the returning player three questions privately:
- What activity have you been doing during the break?
- Is anything painful, or are there movements you have been told to avoid?
- What feels least familiar now: throwing, changing direction, contact or keeping up with play?
Do not make a player returning from an active summer follow the same progression as someone who has barely exercised for a year. Fit to Play’s handball guidance highlights physical condition, recovery and overall training load as factors to consider when adapting participation. Handball load-management guidance
Setup
- Players: 6–10 court players; no goalkeeper required.
- Space: Half a court, with a clear shooting lane and a separate waiting/passing area outside it.
- Equipment: One ball per pair where possible, bibs, cones and one secured goal.
- Time: 60 minutes, including rests and transitions. Reduce or skip blocks for a returning player who needs a shorter session.
- Contact: None in this session. Defenders intercept passes rather than block bodies or contest the ball in a player’s hands.
Check the goal anchoring before use: the IHF indoor rules, effective July 2025, require goals to be firmly attached to the floor or the walls behind them. If there is no secured goal, replace shooting with aimed bounce passes through cone gates.
0–12 minutes: Warm up movement and throwing
Start with easy jogging, side steps and backwards movement in clear lanes. Add controlled stops and changes of direction, then a few low two-foot jumps with a balanced landing. Finish with comfortable shoulder movements and short partner passes, gradually lengthening the passing distance only while the action stays smooth.
Watch: Does the player slow down before changing direction? Can they land quietly and remain balanced? Fit to Play’s handball exercises cue a soft landing with the knee aligned over the toes during planting and landing work. Its full structured programme is available for coaches who want a regular warm-up resource. Handball warm-up exercises
Do not use the warm-up to test maximum throwing power or add partner pushes to the landing tasks.
12–22 minutes: Pass, move and look
Setup: Pairs roughly 4–6 metres apart. Use a triangle for an odd player count.
Action: Pass, move a few steps sideways, then receive again. In a triangle, pass and move into a new supporting position without crossing another player’s route. Pause between short bouts for feedback.
Progression: In pairs, locate your partner’s new position before receiving. In triangles, look towards the next passing option before the ball arrives. Add pace only after catches remain controlled.
Checkpoint: The player receives without repeatedly reaching behind their body, passes to a useful catching height and moves again after releasing the ball. If accuracy falls away, shorten the distance before asking for more effort.
For additional patterns, use the passing drills for small squads.
22–32 minutes: Controlled shooting
Setup: One shooting lane towards the empty goal. Everyone else stays outside the lane and goal area. Retrieve balls only when shooting has stopped.
Action: Use a comfortable approach and a standing shot from outside the goal area, aimed at a chosen section of the goal. Take two short rounds of up to four shots per player, with rest while teammates shoot. That is a session ceiling, not a target everyone must reach; reduce the rounds if retrieval and rest need more time.
Progression: Add a pass before the shot. Keep jump shots and maximum-effort releases out of this first session.
Checkpoint: Look for a repeatable approach, a balanced finish and no obvious shortening or guarding of the throwing action. Stop painful throwing rather than trying to fix it with more repetitions. See the shooting-form checklist for technique cues.
32–42 minutes: Two attackers against one defender
Setup: Groups of three in separate cone-marked spaces, starting at roughly 5 × 5 metres with clear gaps between groups. With 7, 8 or 10 players, extras rotate into a group after each short bout.
Action: Two attackers keep possession against one defender. Start with the defender walking and closing passing lanes, without touching either attacker. The ball carrier’s teammate must move to offer a clear passing route.
Progression: Let the defender intercept actively while attackers stay at a manageable pace. Rotate roles frequently.
Checkpoint: The returning player looks before passing and moves to support rather than standing still. If they rush every decision, slow the defender or enlarge the space without encroaching on another group.
42–54 minutes: No-contact end-zone game
Mark a rectangle approximately 12 × 16 metres with a shallow end zone at each end, within the rectangle. Adjust it to leave clear space around the boundaries. Score by passing to a teammate moving into the attacking end zone; there is no shooting. Use the cone boundaries for this game, not the court’s goal-area markings.
- 6 players: 3v3.
- 7 players: 3v3 plus a neutral player who helps the team in possession.
- 8 players: 4v4.
- 9 players: 4v4 plus a neutral player.
- 10 players: 4v4, with two resting players rotating in.
Play three two-minute bouts, using the remaining time for rest, swaps and one coaching point. If someone steps out, rebalance the teams using a neutral player or smaller sides. Apply the usual ball-handling limits, but remove body contact. The rules refresher can help returning players revisit steps, possession time and dribbling.
Checkpoint: Can the player still catch, stop and choose a pass late in the bout? End their participation if movement becomes uncontrolled; do not turn the final game into a fitness test.
54–60 minutes: Check the response and choose the next step
Walk, collect equipment and ask what felt comfortable or difficult. Record participation time, shooting rounds and any symptoms. Ask again before the next session how the player felt afterwards. Do not increase demands if pain or difficulty with everyday movement remains; persistent or recurring pain needs assessment rather than another drill progression.
If participation and recovery were comfortable, choose one change next time: slightly longer participation, faster defensive pressure, or a more demanding shooting task. Keep the other demands similar so the response is easier to judge.
Repeat the no-contact session if needed. Introduce controlled ground-based contact separately, once the player is comfortable with movement and decisions and any medical restrictions permit it. Do not use completion of this hour as automatic clearance for a full match. The useful checkpoint is repeatable participation—not a fixed number of weeks since the comeback.